TM 5-2410-241-23-1
0025
FUEL PRESSURE TEST CONTINUED
00025
1. Remove cap (Figure 18, Item 1) from fitting (Figure 18, Item 2) on secondary fuel filter housing (Figure 18,
Item 3).
2. Refer to Special Fabricated Tools (WP 0304) for fuel pressure gauge.
N OT E
Ensure fitting is clean and free of debris prior to connecting gauge.
3. Connect fuel pressure gauge to fitting (Figure 18, Item 2).
N OT E
If engine will not start, perform test by cranking engine for no more than 30 seconds.
4. Start engine (TM 5-2410-241-10) and record fuel pressure at low idle. Fuel pressure should be between 65
and 87 psi (448 and 600 kPa).
5. If fuel pressure is OK, refer to Engine Troubleshooting (WP 0019).
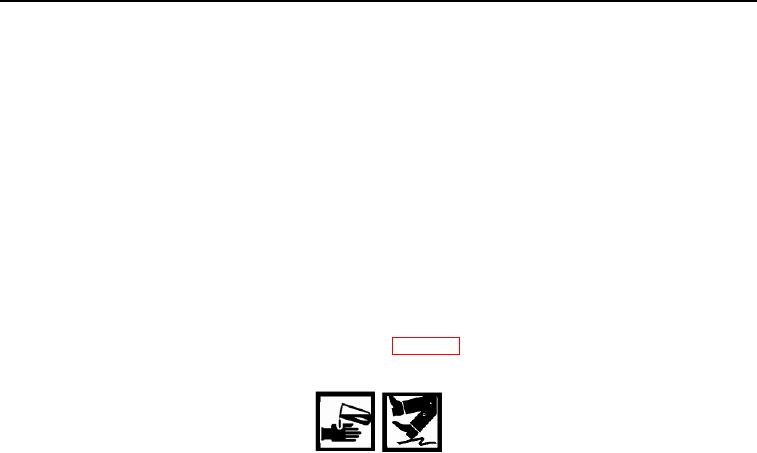
WARN I N G
When servicing this equipment, performing maintenance, or disposing of materials such
as engine/hydraulic oils, coolant, and fuel, consult your unit/local hazardous waste
disposal center or safety office for local regulatory guidance.
Engine/hydraulic oils, coolant, and fuel can be very slippery. Immediately wipe up any
spills.
Failure to follow these warnings ma result in injury to personnel.
y
6. If fuel pressure is below 65 psi (448 kPa) perform the following:
a. Disconnect return line (Figure 18, Item 5) from secondary housing (Figure 18, Item 3) and install cap
(Figure 18, Item 4) in secondary housing (Figure 18, Item 3).
b. Install plug (Figure 18, Item 6) in return line (Figure 18, Item 5).
c.
Start engine and record fuel pressure at low idle.
d. If pressure is lower than or equal to 87 psi (600 kPa), replace fuel transfer pump (WP 0073).
e. If pressure is higher than or equal to 87 psi (600 kPa), replace secondary fuel filter base (WP 0073).
7. Remove plug (Figure 18, Item 4) from secondary housing (Figure 18, Item 3) and install return line (Figure 18,
Item 5).
8. Disconnect fuel pressure gauge from fitting (Figure 18, Item 2) and install cap (Figure 18, Item 1) on fitting.
0025-16

