
TM 5-2410-241-23-3
0222
CLEANING AND INSPECTION
000222
Clean and inspect all parts IAW Mechanical General Maintenance Instructions (WP 0295).
END OF TASK
WIPER MOTOR INSTALLATION
000222
N OT E
Apply silicone sealant to gasket and mating surfaces of motor and machine.
1. Install new gasket (Figure 6, Item 5) on plate (Figure 6, Item 4).
2. Position wiper motor (Figure 6, Item 1) on machine.
3. Install plate (Figure 6, Item 4), washer (Figure 6, Item 3), and nut (Figure 6, Item 2) on wiper motor (Figure 6,
Item 1).
4. Install washer (Figure 6, Item 7) and bolt (Figure 6, Item 6) on machine.
N OT E
Install electrical connector as tagged during removal.
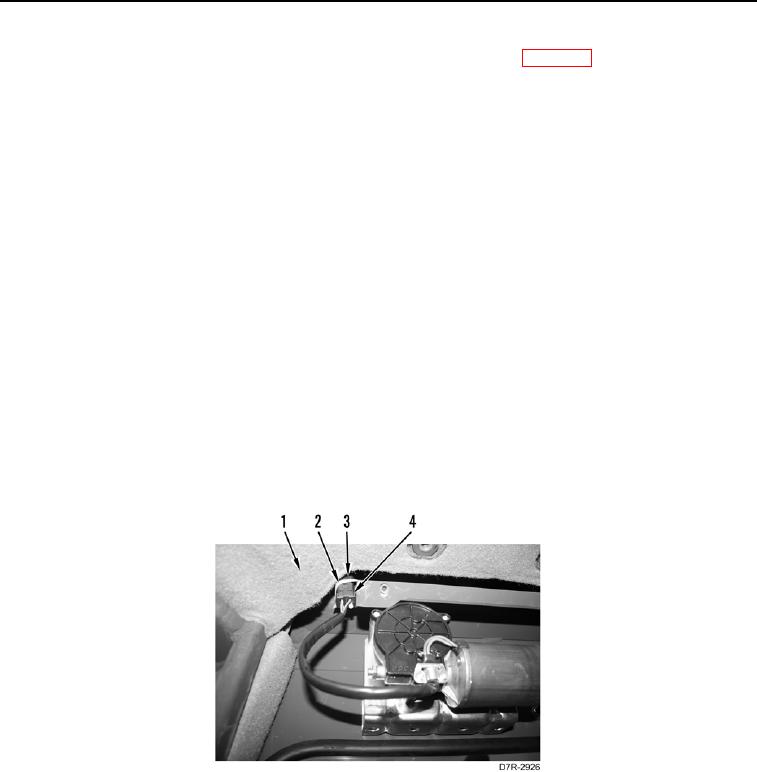
5. Connect wiper motor connector (Figure 7, Item 4) to harness (Figure 7, Item 3).
6. Install new tiedown strap (Figure 7, Item 2) on harness (Figure 7, Item 3) and position headliner (Figure 7,
Item 1).
Figure 7. Wiper Motor Assembly.
0222
END OF TASK