
TM 5-2410-241-23-2
0163
CLEANING AND INSPECTION
000163
Clean and inspect all parts IAW Mechanical General Maintenance Instructions (WP 0295).
END OF TASK
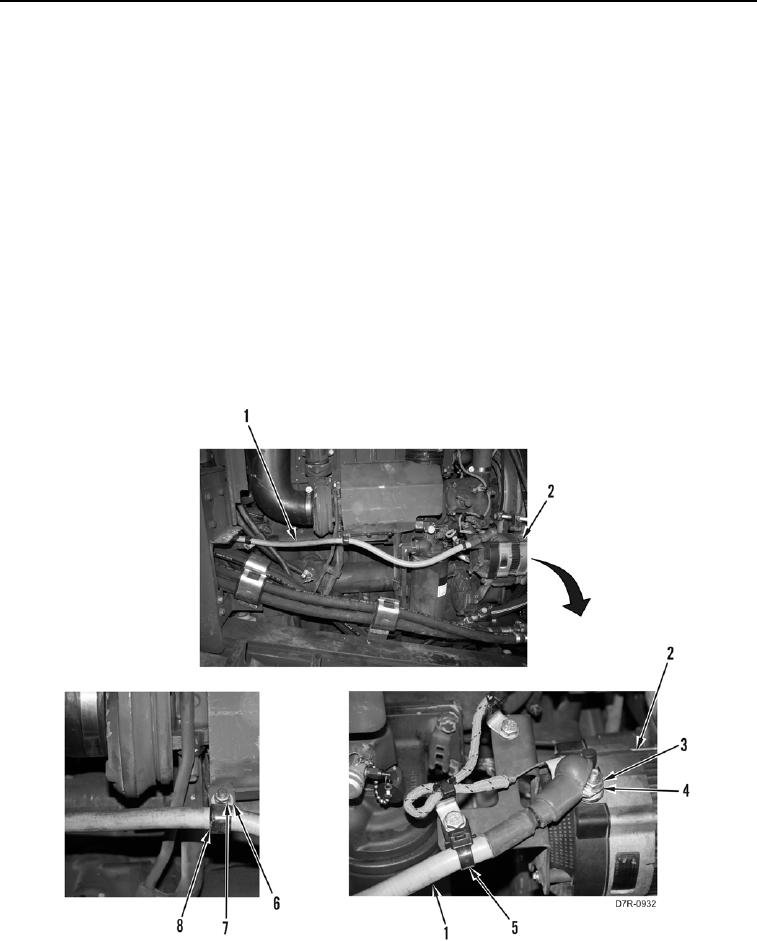
INSTALLATION
000163
N OT E
Install electrical connections and cable as noted during removal.
1. Install alternator cable (Figure 6, Item 1) on machine.
2. Install two clamps (Figure 6, Item 8), washers (Figure 6, Item 6), and nuts (Figure 6, Item 7) on alternator cable
(Figure 6, Item 1).
3. Position alternator cable (Figure 6, Item 1) on machine.
4. Install alternator cable (Figure 6, Item 1), washer (Figure 6, Item 4), and nut (Figure 6, Item 3) on alternator
(Figure 6, Item 2).
5. Install new tiedown strap (Figure 6, Item 5) on alternator cable (Figure 6, Item 1).
Figure 6. Alternator Cable.
0163