
TM 5-2410-241-23-3
0219
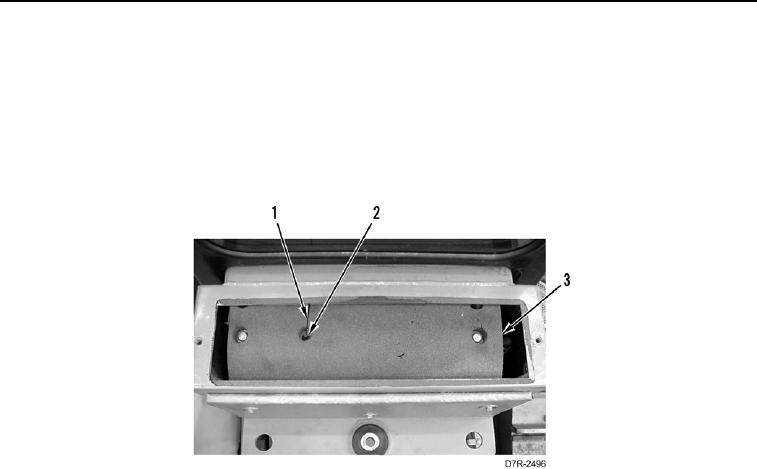
TEMPERATURE SWITCH REMOVAL CONTINUED
C AU T I O N
Use caution when handling temperature switch tube. The tube is made of a soft metal and
is over two feet long. Do not kink or bend tube. Damage to equipment will result.
2. Remove temperature switch tube (Figure 2, Item 1) from evaporator coil (Figure 2, Item 3) and grommet
(Figure 2, Item 2).
Figure 2. Temperature Switch Tube.
0219
N OT E
Tag connectors to aid installation.
3. Disconnect two blower harness connectors (Figure 3, Item 5) from temperature switch (Figure 3, Item 3).
4. Remove two bolts (Figure 3, Item 1) and temperature switch (Figure 3, Item 3) from bracket (Figure 3, Item 2).
Set temperature switch (Figure 3, Item 3) aside.
C AU T I O N
Use caution when handling temperature switch tube. The tube is made of a soft metal and
is over 2 feet long. Do not kink or bend tube. Damage to equipment will result.
5. Remove temperature switch tube (Figure 3, Item 4) from frame.
6. Remove temperature switch (Figure 3, Item 3) and temperature switch tube (Figure 3, Item 4) from machine.
7. Remove grommet (Figure 3, Item 6) from machine.