
TM 5-2410-241-23-1
0022
Table 1. Cab Troubleshooting Procedures - Continued.
0022
MALFUNCTION
TEST OR INSPECTION
CORRECTIVE ACTION
Front Cylinder Mounted
62. Turn main light switch to OFF
Flood Lamp(s) Do Not
position (TM 5-2410-241-10).
Work - Continued
63. Turn ignition switch and battery
disconnect switch to OFF position
(TM 5-2410-241-10).
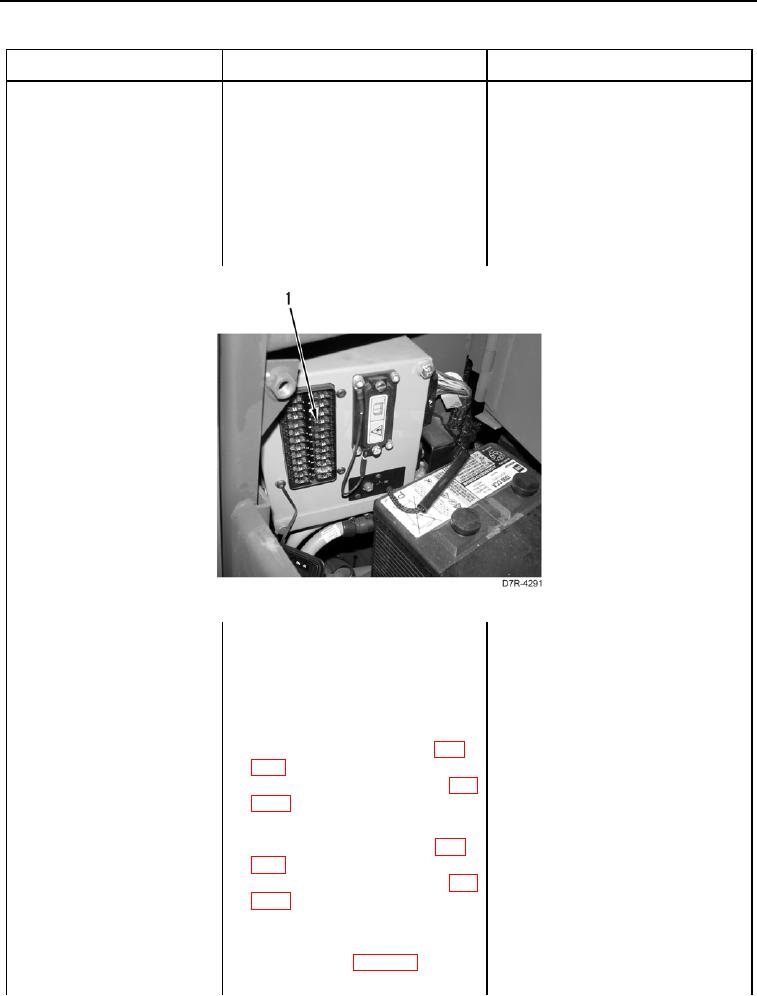
64. Remove Fuse #8 (Figure 2,
Item 1) from fuse panel (TM 5-
2410-241-10).
Figure 2. Fuse #8.
0022
65. Using a digital multimeter (WP
1. If continuity is NOT found, pro-
0296), test for continuity between
ceed to step 78.
blades of Fuse #8.
2. If continuity is found, install Fuse
#8 on fuse panel (TM 5-2410-241-
10) Proceed to step 66.
66. Disconnect left front flood lamp
harness connector GA-C1 (WP
0018, Figure 94) from front light-
ing harness connector G-C2 (WP
0018, Figure 95).
67. Disconnect right front flood lamp
harness connector GC-C1 (WP
0018, Figure 96) from front light-
ing harness connector G-C3 (WP
0018, Figure 97).
68. Install a jumper between pin 1
and pin 2 of front lighting harness
connector G-C3 (WP 0018, Fig-
ure 97).