
TM 5-2410-241-23-1
0022
Table 1. Cab Troubleshooting Procedures - Continued.
0022
MALFUNCTION
TEST OR INSPECTION
CORRECTIVE ACTION
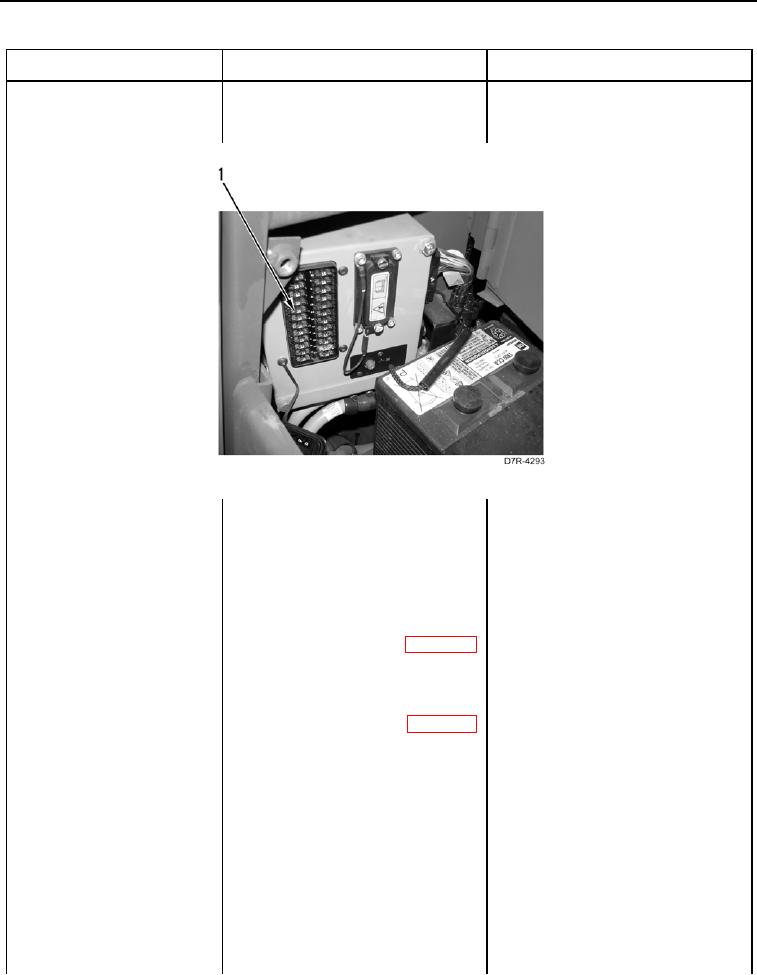
ROPS Mounted Rearward
64. Remove Fuse # 9 (Figure 5,
Facing Floodlamp(s) Do
Item 1) from fuse panel (TM 5-
Not Work - Continued
2410-241-10).
Figure 5. Fuse #9.
0022
65. Using a digital multimeter (WP
1. If continuity is NOT found, replace
0296), test for continuity between
Fuse #9 (TM 5-2410-241-10) and
blades of Fuse #9.
proceed to step 66.
2. If continuity is found, install Fuse
#9 on fuse panel (TM 5-2410-241-
10). Proceed to step 77.
66. Connect right rear flood lamp har-
ness connector TJ-C1 (WP 0018,
Figure 108) to Right rearward fac-
ing flood lamp.
67. Connect left rear flood lamp har-
ness connector TK-C1 (WP 0018,
Figure 107) to left rearward facing
flood lamp.
68. Turn battery disconnect switch
and ignition switch to ON position
(TM 5-2410-241-10).
69. Turn main light switch to floodlight
position (TM 5-2410-241-10).
70. Turn rear facing floodlight switch to
ON position (TM 5-2410-241-10).